How to import capcut project to premerie pro. If you’re looking to enhance your video editing workflow, knowing how to import a CapCut project to Premiere Pro can open up a world of creative possibilities. While CapCut is a fantastic mobile editing tool,
transitioning your projects to Premiere Pro allows for more advanced features and greater control. This guide will walk you through the simple steps needed to transfer your work seamlessly, ensuring you can take full advantage of both platforms for your video projects. Get ready to elevate your editing game with this straightforward process!
Table of Contents
Exporting Your Project from CapCut

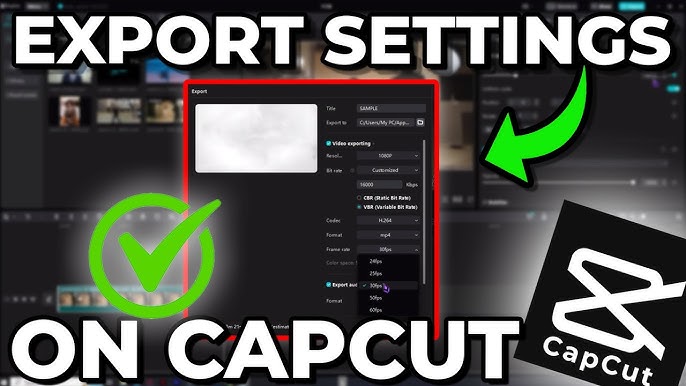
Exporting your project from CapCut is the first step. Open your project in the app. Tap the export button to initiate the process. CapCut usually exports in MP4 format, ensuring compatibility with Premiere Pro.
Wait for the export to complete; this may take a few minutes depending on your project’s size. Once finished, the video will be saved in your device’s gallery or designated folder. This exported file will serve as the bridge between CapCut and Premiere Pro. Ensure the video quality settings are optimized for further editing in Premiere Pro. Now, your project is ready for transfer.
Transferring Your Video File to Your Computer
After exporting your video from CapCut, transfer it to your computer. If you edited on a mobile device, you can use a USB cable for direct transfer. Alternatively, upload the video to cloud storage services like Google Drive or Dropbox.
Once uploaded, download the file to your computer. Another option is to use file-sharing apps like AirDrop for Apple devices. Ensure the transfer is complete and the file is accessible on your computer. This step is crucial for importing your video into Premiere Pro efficiently. Now, you’re ready to move on to the next phase of your editing journey.
Opening Premiere Pro and Setting Up Your Workspace
Launch Premiere Pro to begin setting up your workspace. Start by creating a new project or opening an existing one. Navigate to the **File** menu and select **New** to initiate a fresh project.
Customize your project settings to match the resolution and frame rate of your CapCut export. Adjust your workspace layout for efficiency by arranging panels like the timeline, media browser, and program monitor. Save your workspace configuration to keep it consistent. Now you’re ready to import your CapCut video and start editing with Premiere Pro’s powerful tools.
Importing Your CapCut Video into Premiere Pro
To import your CapCut video into Premiere Pro, go to the **File** menu and select **Import**. Navigate to the folder where you saved your CapCut export. Click on the video file and press **Open**. Your video will now appear in the Project panel.
Drag the file from the Project panel into the timeline to start editing. Ensure that the sequence settings match your video’s specifications. This allows you to work smoothly with the imported footage. Now, your CapCut project is ready for further editing in Premiere Pro.
Shabd Roop forms the backbone of Sanskrit grammar, enabling the language to convey complex ideas with clarity and precision. While it may initially seem daunting, a structured approach to learning and regular practice can demystify this aspect of Sanskrit. Mastery of Shabd Roop opens the door to a deeper appreciation of Sanskrit literature and its timeless wisdom. Whether for academic purposes or personal enrichment, understanding Shabd Roop is a rewarding endeavor for any Sanskrit enthusiast.
Organizing Your Imported Media
Start by creating folders for different types of media, such as video clips, audio files, and graphics. Use clear, descriptive names for each folder to make locating assets easier. Drag your imported CapCut video into the appropriate folder.
Consider color-coding your clips for quick identification. Make use of bins within Premiere Pro to further organize your content. Rename your clips with meaningful titles to streamline your workflow. Regularly saving your project will ensure no progress is lost. With an organized workspace, you can focus on creative editing without wasting time searching for files.
Editing Your Imported CapCut Project
Once your CapCut video is in the timeline, start by trimming unwanted sections. Use the Razor tool to cut clips precisely. Apply transitions between clips to enhance the flow. Adjust the color using Premiere Pro’s Lumetri Color panel.
Add titles and graphics to provide context. Incorporate background music or sound effects to enrich the audio. Utilize keyframes for dynamic animations and effects. Experiment with blending modes for creative overlays. Sync your edits with the beat of your music for a professional touch. Always preview your edits to ensure smooth playback and make necessary adjustments.
Understanding Premiere Pro’s Advanced Editing Tools
Premiere Pro offers a plethora of advanced tools to enhance your editing capabilities. Use the Warp Stabilizer to smooth out shaky footage, and the Multicam Editing feature to seamlessly switch between different camera angles. Leverage the Essential Graphics panel for customized text and motion graphics.
Additionally, the Track Matte Key allows for creative masking effects, while the Audio Track Mixer ensures precise sound control. Utilize the Color Grading tools for sophisticated color correction, and take advantage of Proxy Workflows for smoother editing with large files. These features provide limitless possibilities for refining your video projects.
Exporting Your Final Project from Premiere Pro

Exporting your final project from Premiere Pro is the culminating step. Start by navigating to **File > Export > Media**. Select the desired format and preset for your video, typically H.264 for MP4 files.
Ensure the settings match your project specifications for the best quality. Choose the output location and rename the file if necessary. Click on the **Export** button to begin rendering. The export time will depend on your project’s length and complexity. Once complete, review the final video to ensure it meets your expectations. Now, your polished video is ready for sharing or further use.

