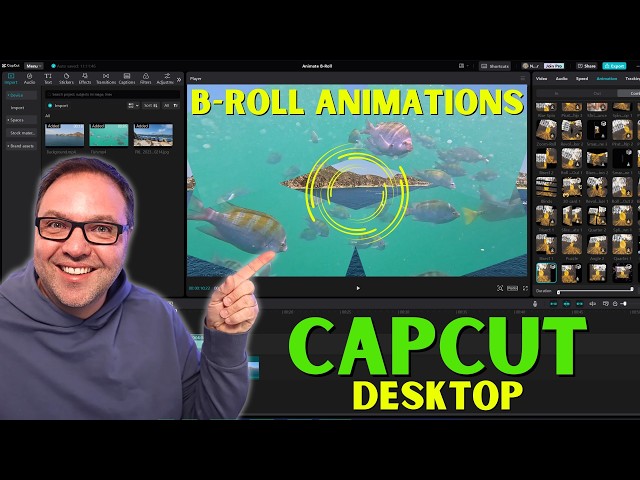
B roll for video capcut. When it comes to creating visually engaging content, incorporating a B-roll for video CapCut is essential. B-roll footage enhances storytelling, adds depth, and keeps your audience captivated.
This blog post will share valuable tips on how to effectively use B-roll in CapCut, ensuring your videos are not only informative but also visually stunning. Whether you’re a beginner or looking to refine your skills, these strategies will elevate your editing game and make your videos stand out.
Table of Contents
Getting Started with CapCut

To begin with, CapCut, download and install the app from your device’s app store. Once installed, open the app and sign in or create an account. The intuitive interface will guide you through creating a new project.
Tap on “New Project,” and you’ll be prompted to import your primary video footage. Familiarize yourself with the main toolbar located at the bottom of the screen. It offers various editing tools, including cutting, trimming, and adding effects. Before diving into the editing, make sure to explore these tools to understand their functionality. This foundational knowledge will streamline your editing process.
Adding Your Main Video
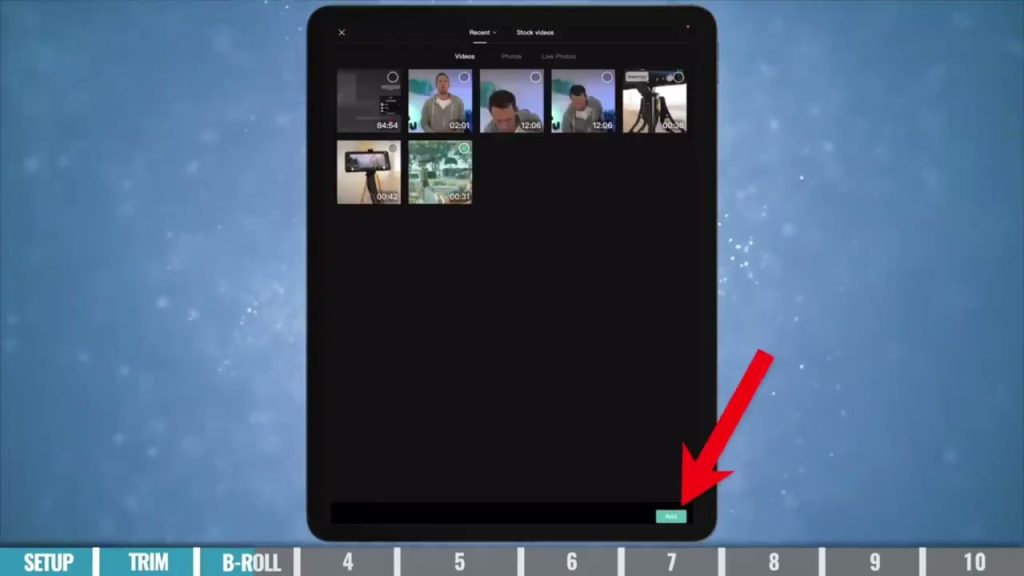
Once you’ve set up your new project, it’s time to add your main video. Tap the “+” button on the main screen to import your primary footage from your device’s gallery. Drag and drop the main video clip onto the timeline.
Use the trimming tool to cut any unnecessary parts. Make sure the video is well-placed for smooth editing. Remember to keep your main storyline clear and concise. Once the main video is ready, you can start incorporating B-roll footage to enrich your content.
Importing B-Roll Footage
Tap the “+” icon to add your B-roll clips from your device’s gallery. Select the desired footage to complement your main video. Once imported, these clips will appear in the timeline. Arrange them strategically to enhance storytelling.
Use the trimming tool to refine the length of each B-roll clip. Adjust the clips to fit seamlessly with the primary footage. The B-roll should serve to highlight key moments and add visual interest. Remember, the goal is to make your video more dynamic and engaging by effectively using these supplementary clips.
Overlaying B-Roll on Main Video
Drag your B-roll clips onto the timeline, placing them above the main video track. Adjust the length of each B-roll clip using the trimming tool. Ensure the clips highlight key moments without overwhelming the main footage.
Use smooth transitions between the B-roll and the main video to maintain flow. Consider overlay effects, such as opacity adjustments, to blend the clips seamlessly. This approach will add visual interest without distracting from the core message. Keep an eye on timing and sync to ensure your B-roll complements the main content effectively. This enhances the overall narrative and keeps viewers engaged.
Syncing B-Roll with Main Footage
Properly syncing the B-roll with your main footage is crucial for maintaining a smooth narrative flow. To do this, place the B-roll clips in the timeline where they naturally fit within the story. Pay close attention to audio cues and visual markers to ensure seamless transitions.
Adjust the timing of the B-roll to align with key moments in the main video. If necessary, use CapCut’s split tool to break the B-roll into smaller segments, allowing for precise placement. This meticulous syncing will enhance the overall viewing experience, making your video more cohesive and engaging.
Applying Effects to B-Roll (Optional)
CapCut offers a variety of effects to enhance your B-roll footage. Experiment with filters to set the mood and color correction tools to match your clips. Utilize transitions like fades or wipes to ensure smooth shifts between scenes.
Speed adjustments can create dramatic slow-motion or fast-paced sequences. Additionally, use overlays or text to add context or emphasis. CapCut’s effects library allows for creativity while maintaining visual consistency. Play around with different options to find what best complements your main footage. This will make your B-roll stand out and elevate your video’s overall aesthetic.
Sound Design for B-Roll
Incorporating effective sound design enhances the impact of your B-roll. First, mute any unwanted audio from the B-roll clips. Next, add fitting background music that matches the video’s tone. Consider using sound effects to emphasize specific actions or moments.
Voiceovers can also provide context or narration, adding depth to the story. Utilize CapCut’s audio tools to adjust volume levels, ensuring a balanced mix between the main footage and B-roll. Synchronize the audio with the visuals to create a cohesive experience. Proper sound design will make your B-roll more engaging and immersive for your audience.
Final Review and Export

Before exporting, thoroughly review your entire project. Check for smooth transitions and ensure that the B-roll complements the main footage. Make any necessary adjustments to timing, effects, and audio to enhance the overall flow.
Preview the video multiple times to catch any mistakes or areas for improvement. When you are satisfied with the final edit, tap the export icon at the top right. Choose your desired resolution and format. Export your video and save it to your device. Finally, share your polished video across your preferred platforms to captivate your audience with stunning visuals and compelling storytelling.
Hey friends, let’s talk about something we all love – breakfast! Greggs has a fantastic breakfast menu that you can enjoy without breaking the bank. Whether you’re rushing to work or taking it easy on a Sunday morning, Greggs has something for everyone. Let’s dive into some of the tasty options you can find on their breakfast menu.

