

How to remove background on CapCut Desktop can be a game-changer. This powerful software offers an intuitive interface that makes background removal accessible, even for beginners.
Whether you’re creating professional content or fun personal projects, this feature allows you to create stunning visuals by eliminating distractions and focusing on your subject. In this guide, we’ll walk you through the simple steps needed to achieve a clean, polished look for your videos. Get ready to elevate your editing experience!
Table of Contents
Importing Your Video
To begin, launch CapCut Desktop and locate the **”Import”** button. This button is usually found at the top left of the interface. Click it to open a file browser where you can select your desired video or image. Transitioning through your files, find the one you wish to edit and double-click to import it.
The chosen media will appear in your project’s media library. Here, you can review your imported files before proceeding. Importing multiple files is also possible, allowing you to work on more complex projects. Each video or image will be listed and easily accessible within the library, making it simple to drag and drop them into the timeline later. This setup prepares you for the next steps in your editing journey.
Adding Video to the Timeline
Once you’ve imported your video, the next step is to add it to the timeline. This process is straightforward and essential for editing. Simply locate your imported video in the media library. Next, drag and drop the video clip onto the timeline at the bottom of the screen. This area serves as your workspace, allowing you to see and manage your clips in sequence.
You’ll notice that as you drop the video, it snaps into place. This feature ensures precise placement, which is crucial for seamless editing. Now, your video is ready for further edits, including background removal. The timeline also allows for easy trimming and cutting. With your clip in place, you’re all set to dive into more advanced editing features CapCut Desktop offers.
Selecting the Video Clip
To continue, focus on the timeline where your video clip resides. Click directly on the video clip to highlight it. This action brings up various editing options on the right-hand side of the screen. Ensuring the clip is selected is crucial for accessing the background removal features. You’ll notice the highlighted clip has a distinct border, indicating it’s active.
This visual cue helps avoid any editing mishaps. Transitioning to the next step, keep your eye on the right-hand panel. The options here will change depending on your clip’s selection. Adjusting settings becomes straightforward once the video clip is highlighted. This selection process is intuitive and user-friendly, making it easy for both novices and experts. As you get comfortable, you’ll find navigating through CapCut Desktop becomes second nature.
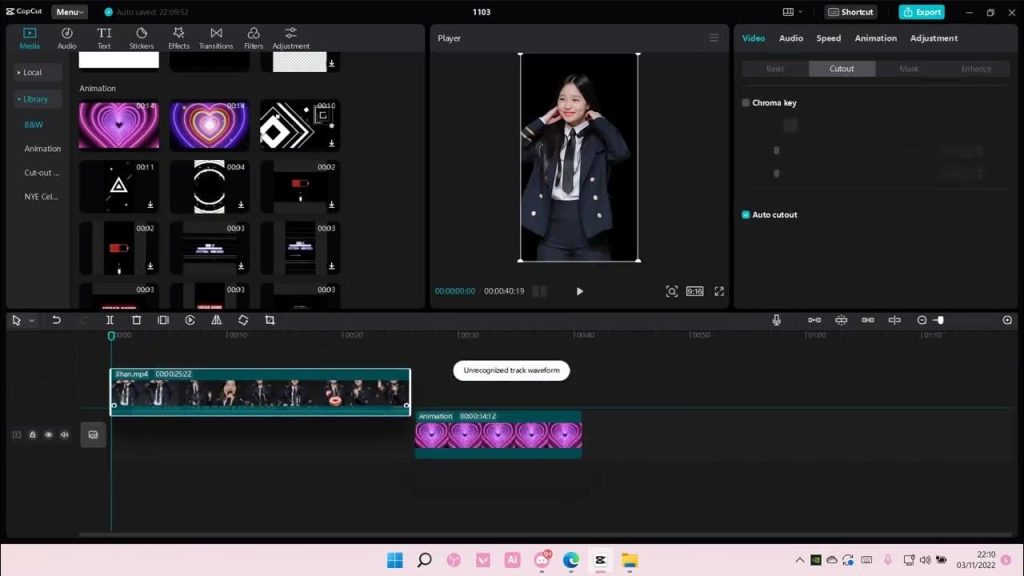
Accessing Background Removal Features
To access background removal features, navigate to the right-hand panel. Here, under the **”Video”** settings, locate the **”Cutout”** option. This is where you will find the background removal tools. Look for labels like **”Remove Background“** or **”Auto Cutout”**, depending on your version of CapCut Desktop.
These tools are designed to simplify the process of background removal. Clicking on any of these options will open a submenu with more detailed controls. As you explore, you’ll notice various sliders and toggles. These settings allow for further customization. The interface is intuitive, making it easy to find the exact feature you need. With these tools at your fingertips, you are well on your way to creating a polished video.
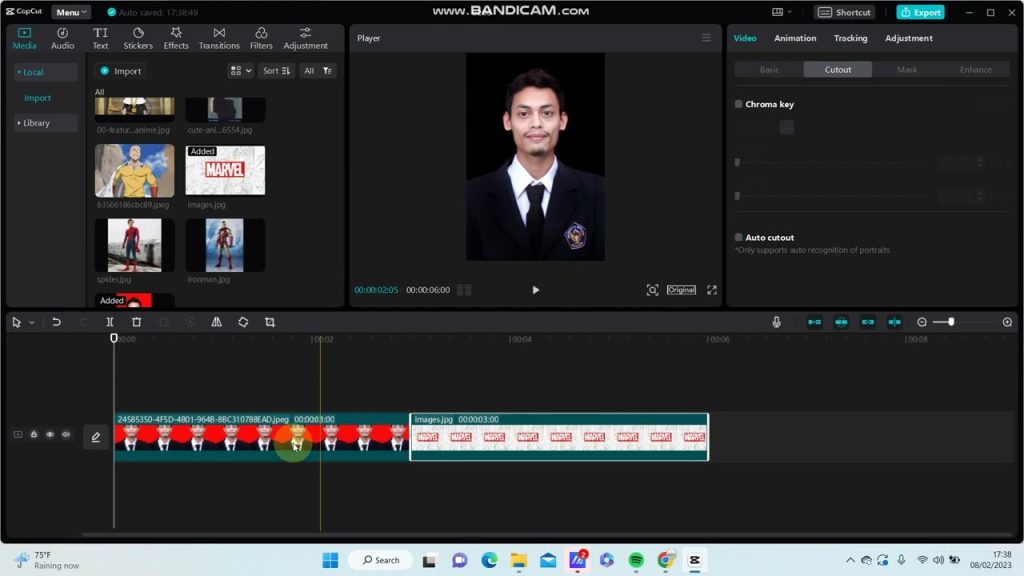
Enabling Background Removal
To enable background removal, first locate the **”Cutout”** option on the right-hand panel. Under this section, you’ll find the **”Remove Background”** or **”Auto Cutout”** feature. Click on it to activate the background removal settings. As you toggle the switch to **on**, CapCut Desktop will begin processing the video.
The software uses advanced algorithms to detect and eliminate the background automatically. You’ll see the background fade away, isolating your subject. For most clips, this default setting works remarkably well. However, for complex backgrounds, you may need to fine-tune. Notice the immediate change in your video preview, showing the subject against a transparent or alternative background. The quick and responsive adjustments make it easier to focus on the main elements of your project.
Fine-Tuning Background Removal
To perfect your background removal, explore the fine-tuning options available. Look for sliders labeled **Edge Detection** or **Strength** within the **”Cutout”** section. These controls help refine the edges around your subject. Adjust the **Edge Detection** slider to make the transition between the subject and background smoother.
Use the **Strength** slider to modify the intensity of the background removal. If you notice any leftover background elements, these adjustments can help eliminate them. Toggle these settings back and forth until you achieve the desired effect. If your version of CapCut Desktop includes a preview option, use it to see changes in real time. This hands-on approach allows for more precise control, ensuring a professional look for your video. Transition through each option, experimenting until perfection.
Another advantage of smart SIM registration is the ability to provide targeted marketing and personalized services to customers. By collecting data on customer preferences and behavior, carriers can tailor their products and promotions to better meet the needs of individual users. This data-driven approach can help increase customer satisfaction and loyalty, leading to a more profitable and sustainable business model for mobile carriers.
Exporting Your Edited Video
Once you’re satisfied with your edited video, it’s time to export it. Begin by navigating to the top right corner of CapCut Desktop and locate the **”Export”** button. Click this button to open the export settings menu. Here, you can choose the video format, resolution, and other quality settings to match your needs.
Make sure to select the appropriate format for your intended use, such as MP4 for social media sharing. Additionally, adjust the resolution to ensure your video looks crisp and professional. After finalizing your settings, click the **”Export”** button again to start the rendering process. CapCut will process your video and save it to your designated location. Once the export is complete, you can share your polished video with the world!