capcut green screen. Creating captivating videos has never been easier, thanks to the CapCut green screen feature. This powerful tool allows users to effortlessly remove backgrounds and replace them with stunning visuals of their choice.
Whether you’re a budding content crew heights. In this blog post, we’ll guide you through the simple steps to unleash your creativity and produce eye-catching videos that stand out. Get ready to transform your footage and amaze your audience!
Table of Contents
Getting Started with CapCut

CapCut is a versatile and user-friendly video editing app available on both iOS and Android. First, download and install CapCut from your app store. Once installed, open the app and sign in or create a new account.
Familiarize yourself with the intuitive interface by exploring its various features and tools. To start, tap on the “New Project” button, which will lead you to the media selection screen. Here, you can import your video clips, photos, and audio files. Understanding the basic layout and functions will ensure a smoother editing process as you dive into creating your masterpiece.
Creating a New Project in CapCut
Start by tapping the “New Project” button on the home screen. This will take you to the media selection screen, where you can choose the video clips, photos, and audio files you want to use. Once you’ve made your selections, tap “Add” to import them into your new project.
The timeline will open, displaying your imported media. Use the timeline to arrange your clips in the desired order. You can trim, split, and reposition them as needed. This setup is crucial before moving on to more advanced edits like adding a green screen effect.
Adding Your Base Videos or Photos
With your new project ready, it’s time to add your base videos or photos. Tap the “Add” button to access your device’s gallery and select the media you wish to use. This will serve as the foundation for your green screen effect.
Arrange them on the timeline, ensuring they are in the correct order. You can also trim and split clips to match the flow of your project. This base layer will help set the scene before introducing the green screen elements. Now that your primary media is in place, you’re ready for the next step.
Importing Green Screen Videos or Images
Now, it’s time to bring in your green screen elements. Tap the “Overlay” button, then choose “Add Overlay.” Browse your gallery for the video or image featuring the green screen background. Select it, and it will be imported into your project as an overlay.
Ensure the green screen clip is positioned above the base layer on the timeline. This step is crucial for effectively applying the green screen effect. Adjust the duration of the overlay to match the length of your base media. Now, you’re ready to refine your project with CapCut’s editing tools.
Overlaying the Green Screen Clip
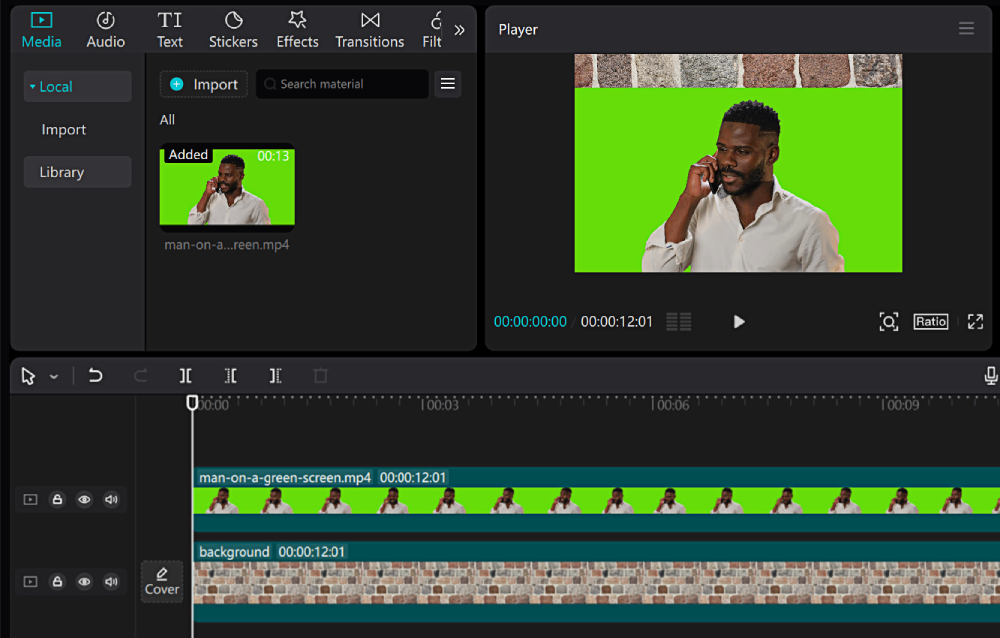
To overlay the green screen clip, simply drag it above the base video on the timeline. Ensure it aligns perfectly with the base layer’s duration. Adjust the position and size of the green screen element to fit seamlessly within the scene.
Pinch and zoom the clip to make precise adjustments. You can also rotate the green screen clip to match the orientation of the background. Use the preview window to see how the overlay blends with the base video. This alignment is essential for a professional-looking effect before you proceed to remove the green screen.
Accessing the Editing Options
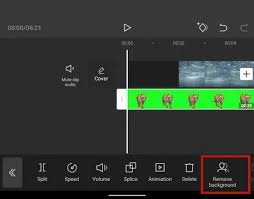
To begin editing your green screen clip, tap on the green screen element in the timeline. This will open a menu at the bottom of the screen with various editing options. Look for the “Chroma Key” feature and tap on it to access the color picker.
This tool will allow you to select the green color in your video. You can then fine-tune the effect using the “Intensity” and “Shadow” sliders. This ensures that the green background is removed smoothly, creating a seamless integration with your base video. Now you’re ready to proceed to the final steps.
Set up an Instagram Shop for a seamless shopping experience. This feature allows users to buy directly from your profile. Ensure your product images are clear and appealing. Use Allofinsta‘s insights to understand what your audience likes. Tailor your offerings based on their interests. Happy customers will lead to more sales and growth.
Using the Chroma Key Feature

Tap on the green screen element to activate editing options. Select “Chroma Key” and use the color picker to identify the green hue. Adjust the “Intensity” and “Shadow” sliders to refine the effect. Aim for a smooth removal of the green background.
Preview the changes in real time to ensure a seamless blend. Fine-tune until the overlay integrates perfectly with the base video. This attention to detail will result in a professional-looking effect. With the green screen effectively removed, you’re now ready to finalize your video and showcase your creative work.

