CapCut, can I delete proxy files?” The answer is a resounding yes! Proxy files, while helpful for smooth editing, can take up valuable storage space.
If you’re looking to optimize your storage and streamline your editing workflow, understanding how to delete these files is essential. In this blog post, we will guide you through the steps to effectively manage and delete proxy files in CapCut, ensuring your editing experience remains efficient and hassle-free.
Table of Contents
Understanding Proxy Files in CapCut

Proxy files in CapCut are lower-resolution duplicates of your original videos. They are created to enhance the smoothness of your editing process. When dealing with high-resolution footage, editing can become sluggish.
Proxy files help mitigate this by allowing you to work with smaller, less demanding files. Essentially, they act as stand-ins for the actual high-resolution footage, making the editing more efficient. When you export your final video, CapCut will use the original high-resolution files, not the proxies. This means you won’t compromise on the quality of your final output, despite using proxies during editing.
Benefits of Deleting Proxy Files
Deleting proxy files from CapCut can significantly free up your device’s storage, allowing you to store more important files and applications. Additionally, this can improve your device’s performance, as less storage usage often translates to faster processing speeds.
By regularly clearing out these temporary files, you can avoid clutter and keep your workspace organized. This practice not only helps in managing your current projects more efficiently but also ensures that your device remains in optimal condition for future editing tasks. Transitioning between projects becomes smoother without the extra load of unnecessary proxy files.
Locating Proxy Files on Your Device
To locate proxy files on your device, start by opening your file explorer. Look for a folder typically named “CapCut” or similar. Inside, you may find subfolders for various projects. Within these project folders, search for directories labeled “proxy” or “temp.”
These are usually where CapCut stores proxy files. If you’re unsure, check the settings in CapCut for the default proxy file location. Sometimes, CapCut saves these files in the same directory as your original media. By navigating through these folders, you should be able to pinpoint and manage the proxy files easily.
Manual Deletion of Proxy Files
To manually delete proxy files, first, open your file explorer and navigate to the folder where CapCut stores its project files. Look for subfolders named “proxy” or “temp” within each project directory.
Once you’ve located these folders, select the proxy files you want to remove and delete them. This process helps clear up space on your device and ensures that only necessary files remain. If you’re unsure about the location, refer to CapCut’s settings to confirm the default storage path for proxies. Regularly performing this task can keep your storage usage in check.
Clearing Cache and Temporary Files in CapCut
In some versions of CapCut, you can clear cache or temporary files directly through the app’s settings. To do this, open CapCut and navigate to the settings menu. Look for an option labeled “Clear Cache” or “Manage Storage.”
Selecting this option will automatically remove any unnecessary files, including proxies. This can be particularly useful if you’re unsure of the proxy file location or want a quick cleanup method. Regularly clearing these files helps maintain optimal performance and frees up valuable storage space, making your editing process smoother and more efficient.
Disabling Proxy File Creation in CapCut

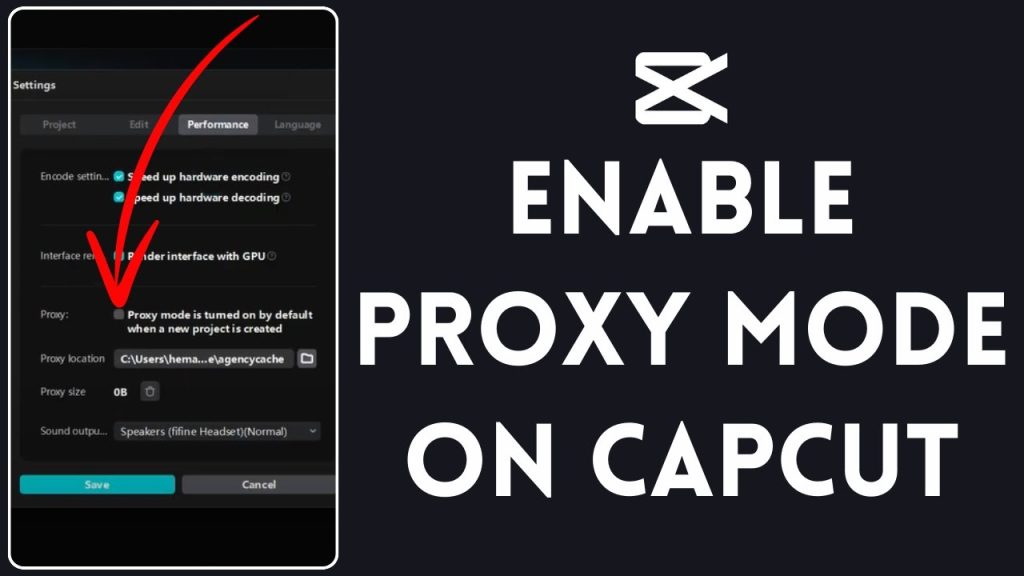
To stop CapCut from automatically creating proxy files, you need to adjust the settings. Open CapCut, go to the settings menu and look for the “Proxy” section. Within this section, you should find an option to disable proxy creation.
Toggle this setting off to prevent future proxies. This step ensures that CapCut won’t generate unnecessary files, helping you manage storage more effectively. Adjusting this setting can be particularly beneficial if you typically work with lower-resolution footage and don’t need proxies for smoother editing.
These partnerships are not just about buying coffee. Starbucks helps farmers with training and support. They teach farmers how to grow better coffee and take care of the environment. This is a win-win situation. The farmers get better at their job, and Starbucks gets great coffee.
Managing Storage Efficiently
Efficient storage management in CapCut is essential for smooth editing. Regularly deleting unnecessary files, such as proxies, keeps your workspace organized. Utilize the app’s built-in tools to clear cache and temporary files quickly. Additionally, disable proxy creation if it’s not required for your projects.
This proactive approach prevents clutter and maintains optimal device performance. Remember to routinely check storage settings and manually remove outdated project files. This ensures you have ample space for new tasks, enhancing your editing experience. By keeping your storage in check, you avoid slowdowns and streamline your workflow effectively.

