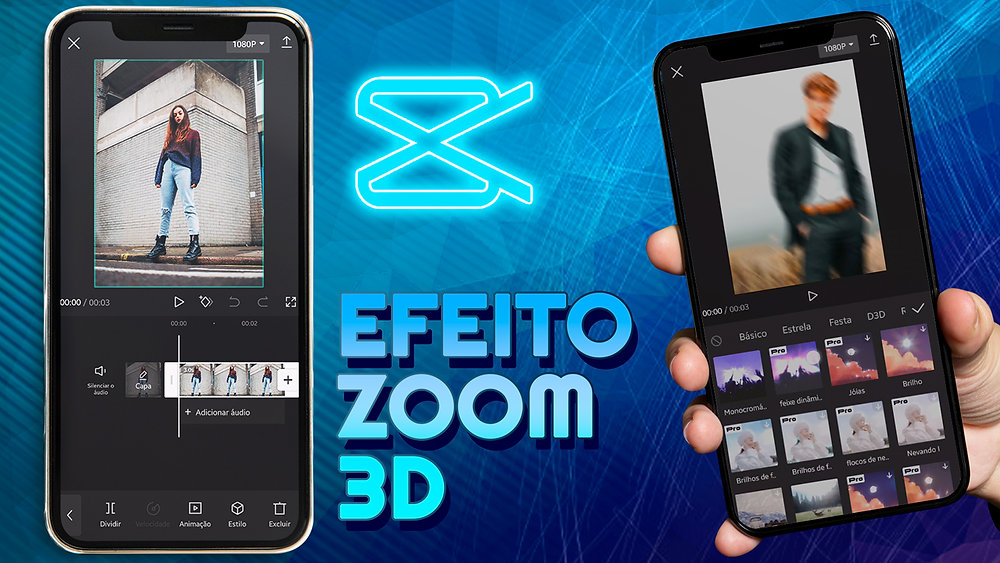
Como fazer zoom profissional no capcut. If you’re looking to elevate your video editing skills, learning how to create professional zoom effects in CapCut can be a game-changer. This step-by-step tutorial will guide you through the process, allowing you to enhance your footage with smooth and dynamic zoom transitions.
Whether you’re a beginner or have some experience, you’ll discover how to make your videos stand out with just a few simple techniques. Get ready to impress your audience as we explore how to make professional zoom effects in CapCut!
Table of Contents
Opening CapCut and Starting a New Project

First, launch the CapCut app on your device. Once it’s open, tap on the “New Project” button to get started. Select the video you want to edit from your gallery. The selected video will load into the main workspace, ready for editing.
This initial setup is simple and quick, setting the stage for your creative process. Make sure your video is properly loaded before moving on to the next steps. Now, you’re all set to begin enhancing your video with professional zoom effects.
Selecting the Video Segment for Zoom
Once you’ve loaded your video into CapCut, navigate to the timeline. This is where you’ll pinpoint the exact moment you want to apply the zoom effect. Use the playhead to find the specific segment.
If the zoom effect should only cover a portion of your video, split the clip accordingly. Splitting ensures the zoom will be confined to the chosen section, giving you better control. You can easily split by selecting the clip and using the scissors tool. This step is crucial to ensure your zoom is both precise and professional-looking.
Utilizing Keyframes for Zoom Effects
Keyframes are essential for creating smooth zoom transitions in CapCut. To begin, select the video track where you want the zoom to occur. Below the preview screen, tap the keyframe icon, which looks like a diamond.
This will mark your starting point. Use pinch-to-zoom gestures or the zoom control to set the initial zoom level. As you move along the timeline, you can add more keyframes to change the zoom level, creating a dynamic effect. This method gives you precise control over the zoom, making it look more professional and engaging.
Setting the Initial Zoom Keyframe
Position the playhead at the point where you want the zoom to begin. Tap on the keyframe icon to mark this spot. Now, use the pinch-to-zoom gesture or the zoom control to set your initial zoom level.
This will be your starting keyframe, indicating where the zoom effect initiates. Adjust the frame so that the focal point is centered as desired. This step is crucial to ensure the zoom starts exactly where you want it. Once the initial keyframe is set, you’ll notice the diamond icon appears on the timeline, marking your zoom starting point.
Discover what makes Mypricezone a favorite among shoppers. User reviews and ratings offer genuine insights into the shopping experience. From product quality to customer service, learn what others have to say.
Adjusting the Final Zoom Keyframe
Move the play head to the point where you want the zoom effect to end. Add another keyframe by tapping the diamond icon again. Use the pinch-to-zoom gesture or the zoom control to set your desired zoom level for the end.
Make sure the final frame focuses on the subject as intended. Adjusting the final keyframe is essential to ensure a smooth transition from the initial zoom level. This creates a more polished and professional effect.
Previewing and Fine-Tuning the Zoom Effect
After setting your keyframes, play back the video to see the zoom effect in action. Look closely at the transitions between the zoom levels. If the motion feels too abrupt, move the keyframes further apart for a smoother effect.
Conversely, bring them closer if you want a quicker zoom. Tweak the zoom levels by adjusting the pinch-to-zoom gestures on each keyframe. This ensures that the focal point remains on your subject throughout the zoom. Continue refining until the zoom effect appears seamless and professional, enhancing the overall quality of your video.
Exporting Your Video

Once you’re satisfied with the zoom effect, navigate to the upper right corner of the screen. Tap on the “Export” button to start the saving process. Choose your desired resolution and frame rate for optimal quality.
Ensure you have enough storage space on your device before exporting. The export process might take a few minutes, depending on the video’s length and resolution. Once completed, your professionally zoomed video is ready to share. Save it to your gallery or directly upload it to your favorite social media platforms to impress your audience with your new editing skills!

