How to move image over text in capcut. If you’re looking to enhance your video editing skills, learning how to move an image over text in CapCut is a great place to start. This technique allows you to create dynamic visuals that grab attention and elevate your storytelling.
Whether you’re crafting a promotional video, a vlog, or a creative project, overlaying images on text can add depth and flair to your content. In this blog post, we’ll guide you through the simple steps needed to master this feature and make your videos stand out.
Table of Contents
Open CapCut and Start a New Project

To begin, open the CapCut app on your device. Once the app is running, tap on the “New Project” button. This action will prompt you to select a video or background from your gallery. Choose the video or background where you plan to add text and images.
CapCut will then load your selected media into the editing timeline, setting the stage for your creative process. This is the foundational step, as it sets up the canvas on which you’ll overlay your text and images. Now you’re ready to start adding your elements.
Add Text to Your Video
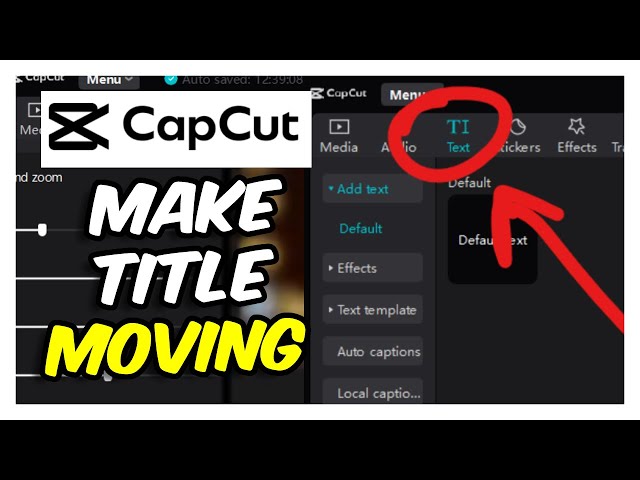
To add text to your video, tap on the “Text” option at the bottom of the screen. Next, select “Add Text” and type in the desired text. Customize your text by adjusting the font, size, and color to match your video’s theme.
Use the positioning tool to place the text exactly where you want it on the screen. This customization allows for creative control, ensuring your text complements your video content perfectly. Now, you have the text added and customized, paving the way for adding images over it.
Add an Image Over the Text
To overlay an image, tap on the “Overlay” button in the menu. Next, select “Add Overlay” and pick the image you wish to use from your gallery.
The chosen image will appear on your timeline as an overlay, ready for customization. Drag and drop the image to position it correctly above your text. This step is crucial as it ensures your image aligns perfectly with your text, creating a seamless blend of visual elements.
Adjust the Image Position
Tap the image overlay on the timeline to activate the preview window. This allows you to move the image freely. Drag the image to the desired spot above your text. Resize and rotate the image as needed to fit your creative vision.
It’s essential to make sure the image overlay is positioned correctly on the timeline. This ensures the image appears above the text during playback. Adjustments can be made easily by tapping and dragging within the preview window. This step offers a high level of customization for your project’s visual appeal.
Add Movement (Optional)
To add dynamic movement to your image, tap on the image overlay. Next, select the “Animation” option at the bottom of the screen. Choose from “In,” “Out,” or “Combo” animations to bring your image to life.
For more control, use keyframes by tapping the “Keyframe” icon. Move the play head and reposition the image to create smooth, custom movements. This allows for precise adjustments, enhancing the visual impact of your project. Use these tools to add engaging motion that complements your text and overall video theme seamlessly.
Review and Export

Now that your video is almost complete, it’s time to review your work. Play the video from start to finish to ensure all elements—text, images, and animations—are perfectly aligned. Pay attention to any details that might need tweaking.
Once satisfied with the overall look, tap on the export button located at the top right corner of the screen. Choose your desired resolution and export settings to ensure the best quality. CapCut will then process your video, which might take a few moments. After the export is complete, your video will be saved to your device’s gallery, ready for sharing. This final step transforms your creative efforts into a polished video that’s sure to impress your audience. Happy editing!
Becoming a part of the Yoholist network is simple yet rewarding. You join a group of like-minded individuals eager to support and learn from each other. With just a few clicks, you enter a world where ideas are shared freely and friendships are formed. Once you’re in, you can participate in discussions tailored to your interests.

